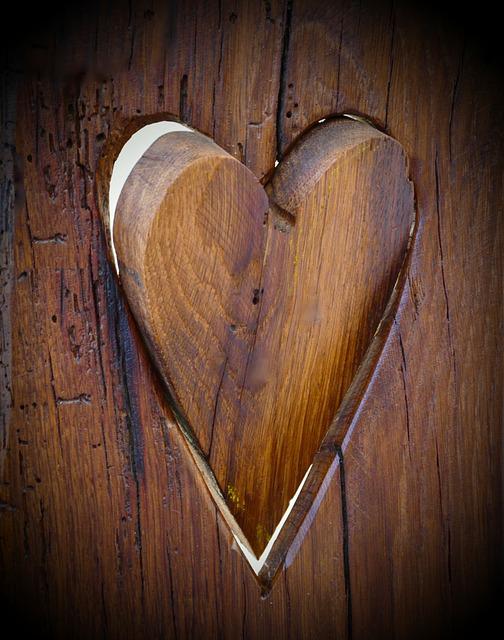
Choose a piece wood and begin carving the face. As the expert guides, you can watch a video that shows the entire process step-by-step. Carving the face will look more realistic if you use the progressing cut. The key to creating a lifelike visage is the progression of your noses on the piece of wood. To give your face a more realistic look, you can also use shellac and colored dyes.
Hardwoods
When carving a face in wood, you must first consider the type of wood to be used. Hardwoods are a class of trees with broad leaves that grow in a variety of climate zones. Hardwoods can be used for building and furniture construction due to their versatility in strength, density, and appearance. Hardwoods can be more expensive, but they are also more durable and resistant to fire.
If you're new to wood carving, you may want to consider using softwood, such as basswood or butternut. These types of wood are more easy to work and are an excellent choice for beginners. But, softer woods may not be as durable or beautiful as hardwoods. Try different types of wood before you settle for one.
Softwoods
The first step in carving a wooden face is selecting the softwood to use. Softwoods tend to be more difficult to carve and will often have many knots. They are also more likely to crack if you use big strokes. Beginning carvers will cut small pieces of timber, decreasing detail. Although this is not a serious problem, it is important to be aware.
Some hardwoods are harder to work with than other. Aspen butternut, basswood and butternut are some of the easiest to work. It is recommended to use knives with a higher bevel. Softwoods are easier than hardwoods to work with, and can be carved along the grain or across it. The quality and finish of your product will depend on what wood you use.
Colored dyes
You can create a bright, detailed finish to a wood carving by using colored dyes. You can find these in a wide variety of colors and mix them with water or alcohol to create a unique colour. You can also use shellac and colored dyes to lighten the wood. Make sure you ventilate your area after applying the dyes. Paste wax is another option. A high degree of glossiness could distract from your work. Use 0000 Steel Wool to remove any excessive glossiness.
Wood dyes come in many varieties and are easy to use. Wood dyes are compatible all topcoats, and they are easy to use. These dyes can also be used to solve common finishing issues. They are easy to mix and use because they come in many primary colors. You can also mix and match them to your liking. You can mix them to make unique colors.
Shellac
Before applying shellac to your wood carving, you should have it ready and handy. A jar of shellac is available, but the best way to apply it to your wood carving is with a brush. A two-pound cut is sufficient. This is because the shellac will gradually build up and will reduce brush marks. Shellac is extremely thin and it is better to buy thicker cuts than thinner ones. To make sure that you get the right amount, make a pad of your own from golf ball-sized lumps of cotton and lint free cloth. Now dip your brush in the Shellac.
Use shellac to add color and highlight grain. Shellac comes with a wide range of colors. You can mix different shades to make your own custom blends. You can also darken the shade using extra coats. Shellac, unlike other wood finishes won't turn yellow or become cloudy. It will also last longer, so you can make more faces. You can do this with almost any type of woodcarving project.
Gouges
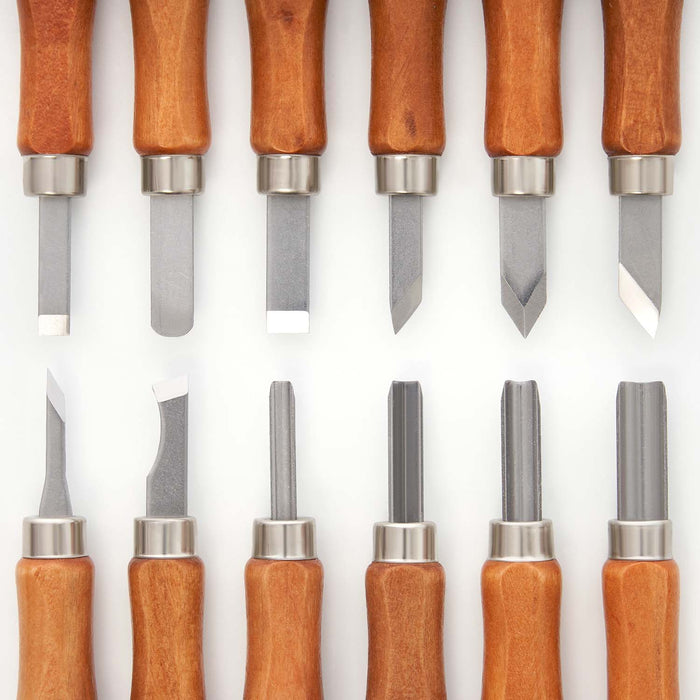
You can find a wide variety of sizes and shapes in gouges. Straight and palm gouges are two of the most popular types. Palm gouges can be held in one hand, while straight gouges require a larger handle and shaft. Hand held carving becomes much easier when the handles are shorter. The palm gouges, also known as veiners, are great for carving wood faces. Before you start carving, there are some things that you need to know.
First, learn how to choose the best gouge. The gouge you choose must be capable of creating a shallow, v-shaped groove. A sharp edge and small sweep are essential features of a good gouge. Gouges are commonly classified by size. A 3/10 gouge will make the same-size cut as a 5/10 gouge. The scoop between the edges gets deeper as the first number is increased and the sweep becomes more curvy. A small sweep can carve a shallow profile in a gouge.
FAQ
Are you able to teach yourself woodworking
Learning by doing is the best way of learning anything. Woodworking is an art that takes patience, practice, skill and experience. Every craft takes practice and patience.
It is the best way to learn to do something is to actually do it. Start small and use what you learn.
Where can I purchase woodworking supplies
There are many places where you will find everything that you need. You could shop at your local hardware store or go online to Amazon.com.
You can also check garage sales and flea markets for old furniture and other materials you can reuse.
Do you have any advice on how to start a woodworking business.
Starting a woodworking business is a lot of work. It's worth it if you're passionate and willing to work hard. You will probably love the challenge of starting your own business.
Remember that you may encounter unexpected problems when starting a new venture. You may run out of money suddenly. Or maybe you'll find that customers aren't willing to pay as much as you'd hoped. You need to be ready for these situations if you want to survive.
A good tip is to open a separate bank account for your business. You will always know how much money you have coming in.
How do I choose the right tools for me?
It helps to reflect on your needs and preferences before you shop for tools. Are you more comfortable with plastic or metal handles? What size are you most comfortable using for screws and nails? Are you more comfortable using power tools than hand tools?
What tools are best to begin with when I become a woodworker
Woodworking is an art. It requires patience. It takes time and practice to master the various techniques and tools required for woodworking.
There are many types of woodworking equipment on the market today. Some people prefer using power tools while others prefer hand tools.
Your choice, however, is up to you. However, you need to ensure that the tool you use is the right one for the job. Start with a basic set if you don’t have any previous experience.
You might also want to learn how a router works, which allows you to cut wood into intricate shapes. These can be found at most hardware shops.
Statistics
- Overall employment of woodworkers is projected to grow 8 percent from 2020 to 2030, about as fast as the average for all occupations. (bls.gov)
- Woodworkers on the lower end of that spectrum, the bottom 10% to be exact, make roughly $24,000 a year, while the top 10% makes $108,000. (zippia.com)
- The U.S. Bureau of Labor Statistics (BLS) estimates that the number of jobs for woodworkers will decline by 4% between 2019 and 2029. (indeed.com)
- If your lumber isn't as dry as you would like when you purchase it (over 22% in Glen Huey's opinion…probably over 10-15% in my opinion), then it's a good idea to let it acclimate to your workshop for a couple of weeks. (woodandshop.com)
External Links
How To
How do you accurately measure wood?
We use many methods to measure wood. A digital caliper is a tool that measures distances. We also use a laser level to ensure your work surface flattens.
A digital caliper can have two jaws, which open and close. One jaw holds a measured object and the other measures distances between the points. Digital calipers are great for measuring small distances, such as thicknesses of wood.
Laser levels feature an infrared-light beam that projects lines across the floor. The laser emits an infrared light beam that projects a line across the floor. It is possible to see if the surface of the surface are even by looking down at it. Laser levels are best for checking the accuracy of large surfaces.
Bubble levels look similar to a compass. There is a bubble at the center of this device. As long as the bubble remains centered, the device can tell you if the surface has been leveled. For checking the accuracy of small areas, bubble levels are useful.