If you are planning to use a biscuit joiner to construct your furniture, here are some tips: choose the biscuit size that best suits your furniture needs, make sure that the bottom shelf line is level, and use proper safety equipment while using the machine. The biscuit joiner makes it easy to connect two pieces of wooden. Read on to find out more. Also, learn about biscuit glue, safety equipment when using a biscuit joiner, and more.
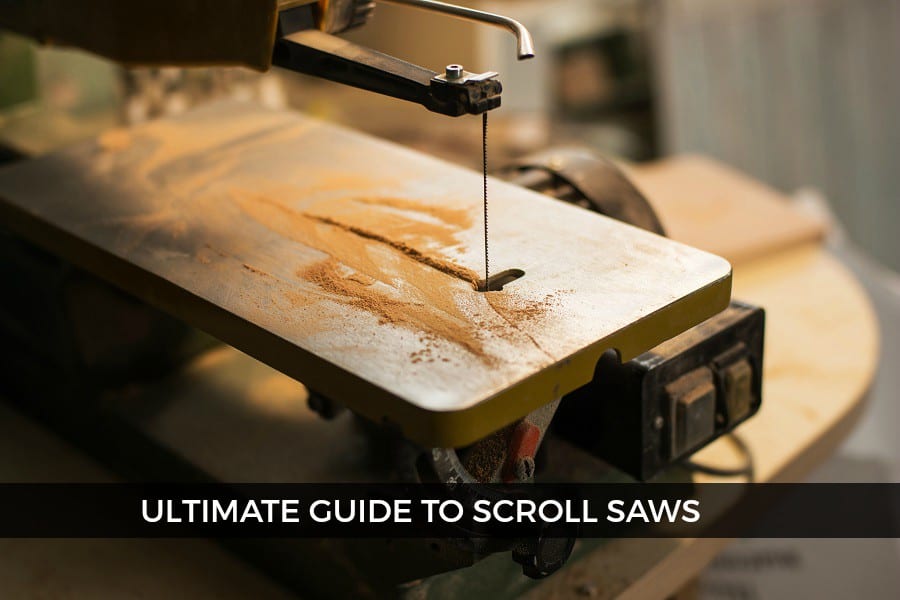
How to select a biscuit joiner
If you're a do it yourselfer, you might consider a midrange joiner. It can handle almost all wood types. Cabinet shops will need a heavier-duty model. Regardless of your requirements, there are biscuit joiners to suit your needs. Some biscuit joiners are lightweight and easy to clean while others require more effort. Here are some factors to consider when choosing the right biscuit jointer.
There are many reasons why choosing a biscuit joiner can be important. It is a versatile tool that can be used for a variety of general applications. The blade of a Biscuit Joiner should be large enough to accommodate a variety of materials. It is important to choose one with a large range of settings as well as an ergonomic handle. In addition to this, the machine should have a dust extraction port and bag for collection. A biscuit joiner should be easy to use.
Choosing a biscuit
Before purchasing a biscuit-joiner, you need to be aware of several factors. Biscuits come in various sizes and shapes, and you will need to choose a suitable one for the job. The most common sizes for biscuits are #0-10 and 12-15 mm. Plastic, PVC and metal connectors are also options for biscuits. Consider the size of the blade and what type of teeth you are using. Carbide teeth in biscuit joiners are stronger than others. Look for these features on the blades.

Consider how often you will be using the biscuit joiner before you make your decision. Are you going to use it for furniture making or cabinet building? A medium-sized biscuit joiner will do the job for general woodworking. But if your project is more complex, you'll need a bigger model. Based on your specific needs, choose between a wired or unplugged model. After you have chosen the best biscuit joiner, select the one that offers the most speed to ensure maximum control.
Gluing biscuit joints
A biscuit joiner can be used to join wood pieces. Like nails, biscuits absorb the glue in which they are placed and swell up to form a precise alignment. Insufficient glue can lead to joint failure or misalignment. A water-based glue will prevent this. Make sure you glue the glue in the slot and not onto the biscuits. A popsicle stick will help spread the glue to make sure the biscuits are securely attached to the wood.
A biscuit joiner is a saw that cuts a hole in the wood, then drops wood biscuits. The biscuits will be stronger and longer-lasting if they are glued. A biscuit jointer is typically used to join panels. Norm shows how he glues a piece of plywood together with a biscuit-joiner.
Safety equipment to use in conjunction with a biscuit-joiner
Safety precautions are important for every user of a biscuit joining machine. These precautions include not turning on the biscuit joiner when it is in use, not straining or pulling the power cord and not reaching under the workpiece while running the cutting blade. Make sure your cutter head and blade covers are secure. Never leave the cutter head on while the blade is being cut.
The biscuit joiner can be used to cut biscuits by one hand. Make sure to secure your workpieces to a stable surface to stop them moving during the process of cutting biscuits. If the blade cuts too deeply into the board, the biscuit joiner could be dangerous. The blade could snap through the board and slit a finger if it cuts too deep. Always wear safety glasses and a face mask.
Test a biscuit joiner
Before you start using a biscuit-joiner, you should know how to properly test it. Make a slot out of a piece wood scrap. Once the biscuit is in place, gently insert it into the slot. After the biscuit pops out, mark the bottom with a pencil. Once the biscuit has been fully inserted into the slot, carefully remove it from it and examine the other end. You should make sure it isn't jammed or blocked and there are no other objects in your slot.
A variety of sizes are available for biscuit joiners. Look at their features to help you choose the one that suits your needs and is within your budget. There are two kinds of biscuit joiners: handheld ones and floor-mounted ones. You can choose one based on the size of the job you have in mind. Next, choose the size that suits your needs. The Biscuit Joiner90deg, for instance, is lightweight and has an angle maximum of 90 degrees.
FAQ
Do you have any tips on starting a woodworking business?
It takes a lot of effort to start a woodworking business. It's worth it if you're passionate and willing to work hard. You might even enjoy running your own business.
One thing to keep in mind when launching a new venture is that you might encounter unexpected problems along the way. For instance, you might run out of money unexpectedly. Or you might find that your customers aren’t willing or able to pay as much you had hoped. To survive, you'll need to be prepared for such situations.
A good tip is to open a separate bank account for your business. You'll know exactly how much money is coming in by setting up a separate bank account.
How much should a hobbyist invest to get started?
A lot of capital is required to purchase the necessary supplies and tools if you want to start your own woodworking shop. Start by getting a small circular saw saw, drill press or circular saw. These items aren’t too expensive so you won’t have to break the bank.
Does it take a genius to make woodworking work?
No. Woodworking does not require any special skills. It is possible to learn basic tools and techniques that will allow you to create beautiful art.
Where can I buy woodworking supplies?
There are many places where you will find everything that you need. You could go to your local hardware shop or visit websites such as Amazon.com.
You might also consider flea markets and garage sale for any old furniture or other materials you could reuse.
What is the hourly rate for a woodworker?
The hourly rate for a professional Woodworker will vary depending on many variables, such as experience, skill level and availability.
The average hourly rate for a skilled woodworker ranges from $20-$50 an hour.
A less skilled woodworker can charge as low at $10 an hour.
Where do I start with woodworking?
Learning how to build furniture is the best method. While you will need tools, mistakes are inevitable, but you will learn the ropes if you persevere.
You should first choose the project you wish to complete. It could be something as simple as a box or as elaborate as a full-scale entertainment center. Once you have chosen a project, locate a local woodworker who is skilled in this kind of work. Ask the local woodworker for help in deciding what tools and where to get them. It's possible to ask your friend if they do this type of work.
Statistics
- Overall employment of woodworkers is projected to grow 8 percent from 2020 to 2030, about as fast as the average for all occupations. (bls.gov)
- Most woodworkers agree that lumber moisture needs to be under 10% for building furniture. (woodandshop.com)
- Woodworkers on the lower end of that spectrum, the bottom 10% to be exact, make roughly $24,000 a year, while the top 10% makes $108,000. (zippia.com)
- Average lumber prices rose about 600 percent between April 2020 and May 2021. (familyhandyman.com)
External Links
How To
Tips on how to drive a nail in wood
To drive a nail into wood, the first step is to select the right size and type hammer. The most popular types of hammers include claw hammers as well as mallets and ball peenhammers. Each type has its strengths and weaknesses. For example, a claw hammer works best when you want to hit something hard, like nails; however, it's difficult to control precisely where the blow lands. A sledgehammer is useful for striking large areas at once but too heavy to be effective for smaller tasks.
After selecting the right hammer, you will need to place your hand flat against one side of the head. The handle should rest comfortably in your hands. You can grip the handle with your fingers, but not so tight that it causes injury. Keep your wrist relaxed and the hammer straight up. Now, move the hammer towards the center of the nail by swinging it back. You should feel the impact of the hammer striking the nail. You can practice swinging the hammer with a block or wood until you feel the rhythm.
Once you are ready to drive the nail, place the hammer close to your body. The nail should be perpendicular to wood's surface. Keep your focus on the tip of each nail. Swing the hammer forward, and then move the hammerhead. Continue this motion several times, slowly increasing the speed of each swing. Once you've mastered the technique, try adding power to your swings. Then, raise the hammer from your shoulder to bring it down. You'll have more energy to work with.
Once you have made the first hole, remove your hammer. To pull out the remaining nails, use a screwdriver or pry bar. Keep the nails heads in line with the surface of the board to prevent splitting the wood.