What is the working principle of a sanding scrollsaw? These are some helpful tips to use a scrollsaw properly. Position your hands in the proper positions, keep the wood firmly on the table, plan your cuts, and sit at the correct height. Use the right tool for your job. Below is a video that will help you get going. Then follow our easy steps to get started. This video should help you to become a scroll saw master.
Setting the right speed to sand a scrollsaw
Set up the scroll saw's blower and blade. The blower should be aimed at the blade or nozzle, depending on the type of cut you're trying to make. Also, prepare your scroll saw by making sure the belt is tight and lubrication is in place. This is important for sanding. However, you can adjust the blade to get the desired finish.
Begin by inspecting the blade to establish the speed of sanding. A balanced tool will not vibrate too much and your blade should have a straight, black line. If the blade appears blurred or sloppy, it is probably out of tune. If the blade isn’t cutting through the material properly, adjust the speed of your scroll saw.
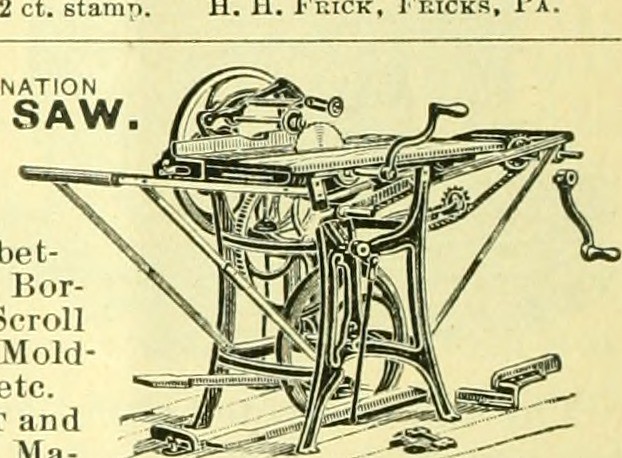
Scroll saw: Making on-the spot turns
Although a scroll saw gives you unparalleled control over cutting, it is important to remember several safety precautions. Before using the scroll saw, first ensure it is dry. Next, look at the grain patterns on your project. You can also use tape to keep the blade straight and check the cut square while cutting. Remove the tape after you have finished cutting. Sand the edges. Once you are done cutting, remove the tape and sand the edges. Scroll saws can be a dangerous tool, so follow these safety precautions.
After you have decided what you want to cut with your scroll saw, you will need a pattern. To prevent the blade's veering off the lines, you will need to leave enough "positive" space. Mark the pattern using a pencil. After you have created your pattern, take off the appropriate gear. Next, use the scroll saw to guide your project. Use the smallest blade size, but be aware of the dangers of veering off.
To sand a scrollsaw, use a pinless sander

It is very simple to use a scroll-saw sander with a pinless motor. Scroll saws come with a belt you can adjust to smoothen the edges. This belt will fit most scroll saws with a 5-inch diameter. The belt can be used for removing burns or correcting a wandering line of cutting. Belts can be purchased with different grits depending on the requirements of your scroll-saw.
Pinless sanders will work with most scrollsaws and conversion adapters. They fit onto the end of the blade in the same way as a Plain End or Pinned End blade. You can remove the pivot head to make one. Install the conversion adapter to convert a Pin-End from a Pinless sander and replace the blade.
You can use a sanding brush to sand a scrollsaw
A scroll-saw sanding tool belt can improve the quality of your woodworking projects. These belts are made out of durable plastic and can be mounted to most scroll saw models. These belts work best on larger woodworking projects such a table, countertop, or cabinets. These belts come in either 1/4"- or 1/2" widths. They are also available in 80, 120, 180, and 220 grits.

A quality sanding cloth will smoothen the edges on your scroll saw. It can also be used on a variety materials. A variety of grits is a good thing. A good grit belt should measure at least half an in. It should work with scroll saws that have a 5 inch blade.
FAQ
How much should a Woodworker Charge per Hour?
The hourly rate of a professional woodworker depends on many factors including experience, skill level, availability, location, etc.
An hourly wage for skilled woodworkers is between $20 and $50.
A woodworker with less experience may be able to charge $10 an hour.
What is the difference between a hobbyist woodworker and a professional woodworker.
Hobbyists are passionate about making things from wood, while professionals tend to be more focused on the quality and craftsmanship of their work. Hobbyists are proud of their creations and will often share them with family members and friends. Professionals will spend hours looking at designs before they start to build a project. They will meticulously plan every detail of their work from choosing the right materials to finishing it.
How long does a piece take to finish?
It all depends on what type of wood you use, how complex your design is, and how much finishing you use. Hardwoods are more difficult to maintain than softwoods. Hardwoods can also be more costly than softwoods. They last longer and are more resistant to moisture. The typical time taken to finish a piece furniture takes anywhere from one to three month.
How can I keep my shop organised?
First, make sure you have a designated space for tools storage. Your tools will stay sharp and ready to go when they are free from dust and debris. Pegboard hooks can be used to hang tools and accessories.
Statistics
- In 2014, there were just over 237,000 jobs for all woodworkers, with other wood product manufacturing employing 23 percent; wood kitchen cabinets and countertop manufacturing employing 21 percent. (theartcareerproject.com)
- If your lumber isn't as dry as you would like when you purchase it (over 22% in Glen Huey's opinion…probably over 10-15% in my opinion), then it's a good idea to let it acclimate to your workshop for a couple of weeks. (woodandshop.com)
- Overall employment of woodworkers is projected to grow 8 percent from 2020 to 2030, about as fast as the average for all occupations. (bls.gov)
- The U.S. Bureau of Labor Statistics (BLS) estimates that the number of jobs for woodworkers will decline by 4% between 2019 and 2029. (indeed.com)
External Links
How To
Tips for driving a nail in wood
To drive a nail into wood, the first step is to select the right size and type hammer. There are many types of hammers that you will find: claw hammers and sledgehammers; mallets; ball peen hammers; and hatchets. Each type of tool has its advantages and drawbacks. A claw hammer works well when you're trying to hit nails with a heavy hammer. However it is difficult to precisely control where the blow hits. A sledgehammer is useful for striking large areas at once but too heavy to be effective for smaller tasks.
After selecting the right hammer, you will need to place your hand flat against one side of the head. The handle should rest comfortably in your hands. Hold the handle in your hand, but don’t force it too hard that you break. Hold the hammer straight up, keeping your wrist relaxed. Next, swing the hammer toward the ground and aim for the nail's center. You should feel the impact of your hammer hitting the nail. Practice swinging your hammer on a block of wooden until you feel comfortable.
When you're ready to start driving the nail, hold the hammer in front of you close to your body. You will need to position the nail so it is parallel to the wood. Your eyes should be focused on the nail's tip. Then, swing the hammer forward. Next, follow the motion of your hammerhead. You can repeat this several times, increasing your swing speed. When you are confident with the technique, add power to your swings. Hold the hammer high above your shoulders and pull it down. This will help you put more energy behind each of your moves.
Once you've nailed the first hole, remove the hammer from the nail. You can then remove the rest of the nails using a prybar or a screwdriver. Keep the nail heads parallel to the board's surfaces in order to avoid splitting wood.